Switching to a QR Menu for Cafes and Restaurants: A Step-by-Step Guide
Switching from a printed menu to a QR menu is a much faster and easier process than most business owners expect. By following the right steps, you can have your cafe or restaurant running on a digital menu the same day.
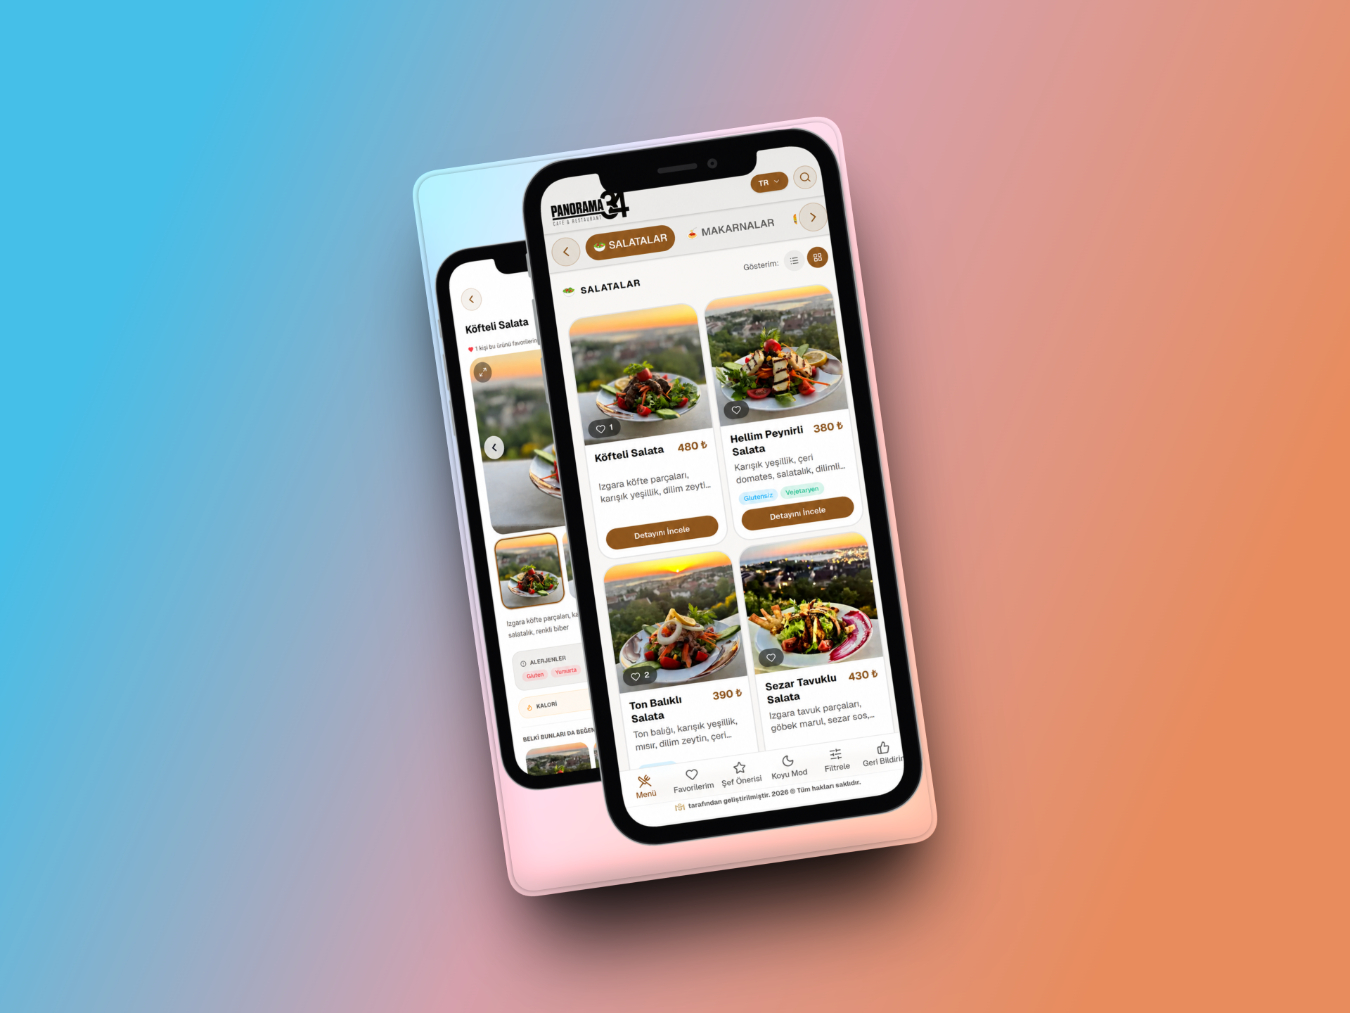
1. Digitize your menu content: Organize your products into categories and prepare an up-to-date price, short description, and — if possible — a photo for each item. You can enter all of this easily from the QR AppMenu admin panel.
2. Configure languages and theme settings: Prepare your menu in multiple languages based on your guest audience, and choose a light or dark theme that matches your brand colors.
Update your menu from a single admin panel and have the changes reflected across all your QR menus instantly. Keep your business up to date without printing a single paper menu or paying printing costs.
3. Generate your QR code and place it on tables: Your system automatically generates a QR code for you. Place it on tabletop stands, tablecloths, or at the entrance.
4. Brief your staff: Having your service staff briefly explain how to scan the QR code makes the process easier, especially for guests unfamiliar with QR menus.
5. Analyze and improve: Track view counts and favorite statistics in the admin panel to learn which products get the most attention, and optimize your menu based on that data.
Once you complete these five steps, your cafe or restaurant will have a modern QR menu system that updates quickly and puts the guest experience first.