How to Switch to a QR Menu: A 7-Step Setup Guide for Cafés and Restaurants
Switching to a QR menu is more than taking a picture of the existing menu and placing it behind a QR code. A successful rollout considers product structure, categories, pricing, descriptions, images, QR code placement, and the way guests will access the menu.
The following seven-step plan is designed to help cafés and restaurants turn an existing printed menu into a more manageable digital menu experience.
1. Clean Up Your Existing Menu and Product List
Before setup, confirm that the current menu is accurate. Remove discontinued products, outdated prices, duplicate product names, and unnecessary categories before moving the data into the digital system.
Prepare at least the following for each item:
- Product name
- Category
- Current price
- Short description
- Product photo when available
- Allergen or dietary information
- Required translations
If you are new to the concept, first read What Is a QR Menu and How Does It Work?.
2. Plan Categories for Mobile Use
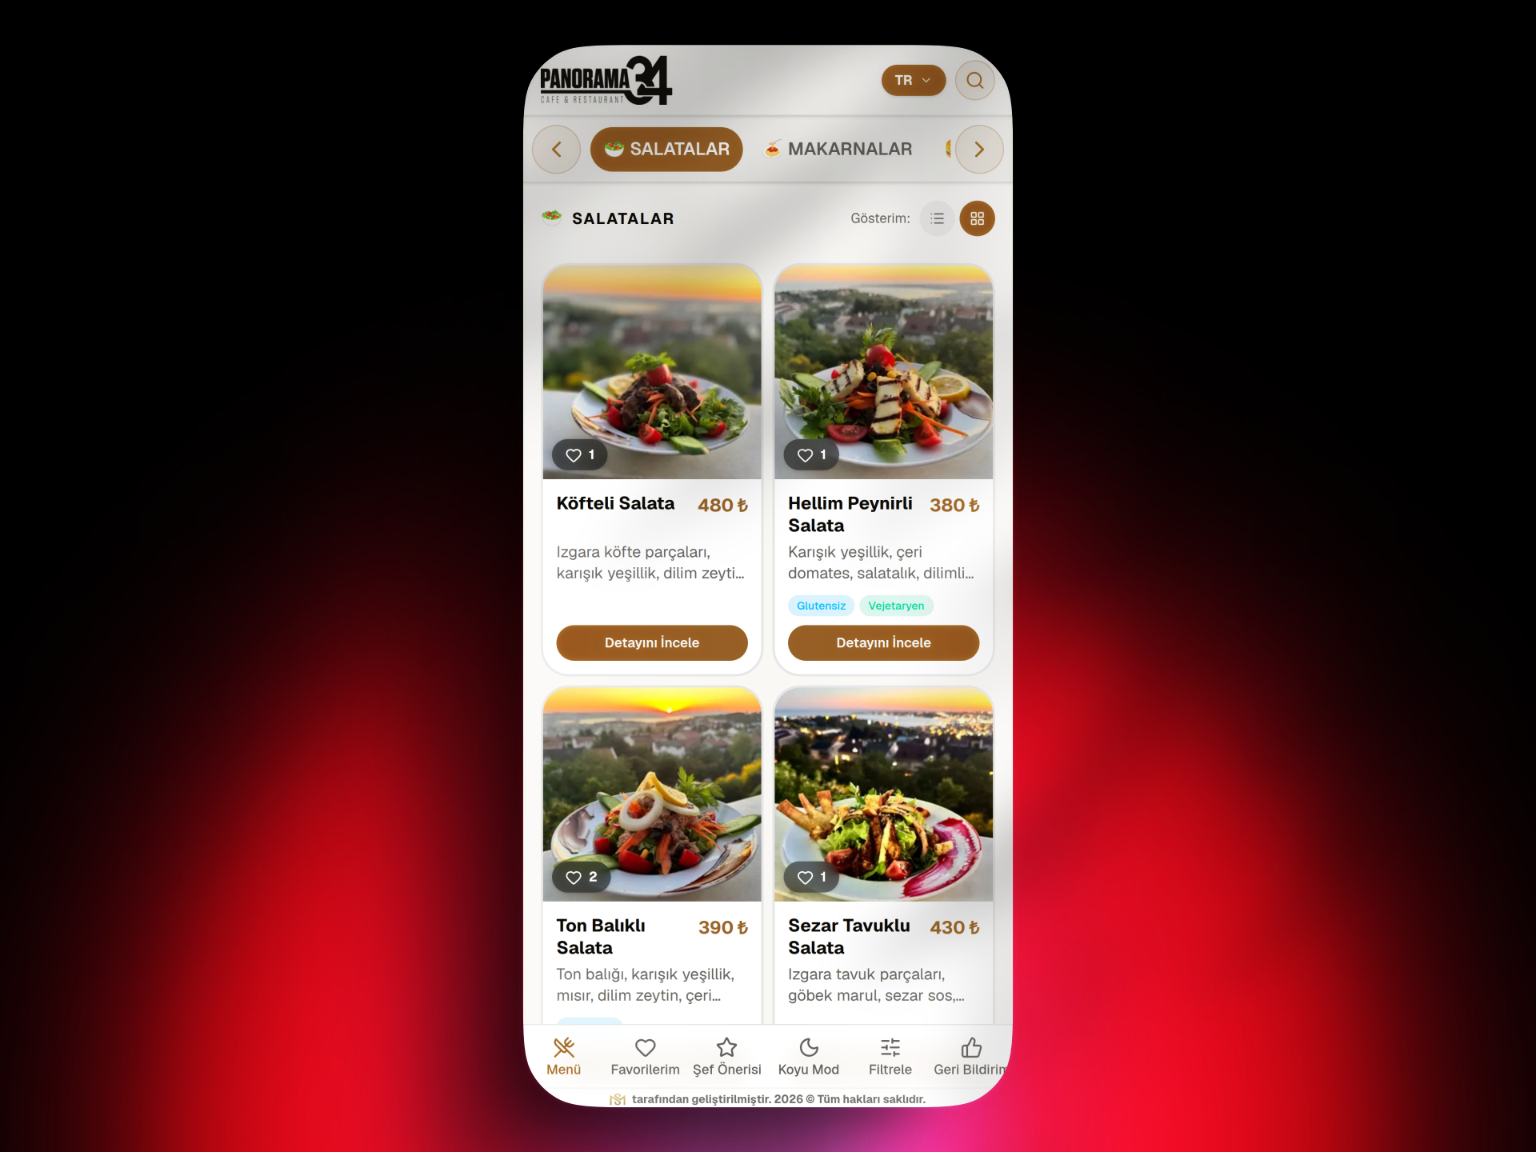
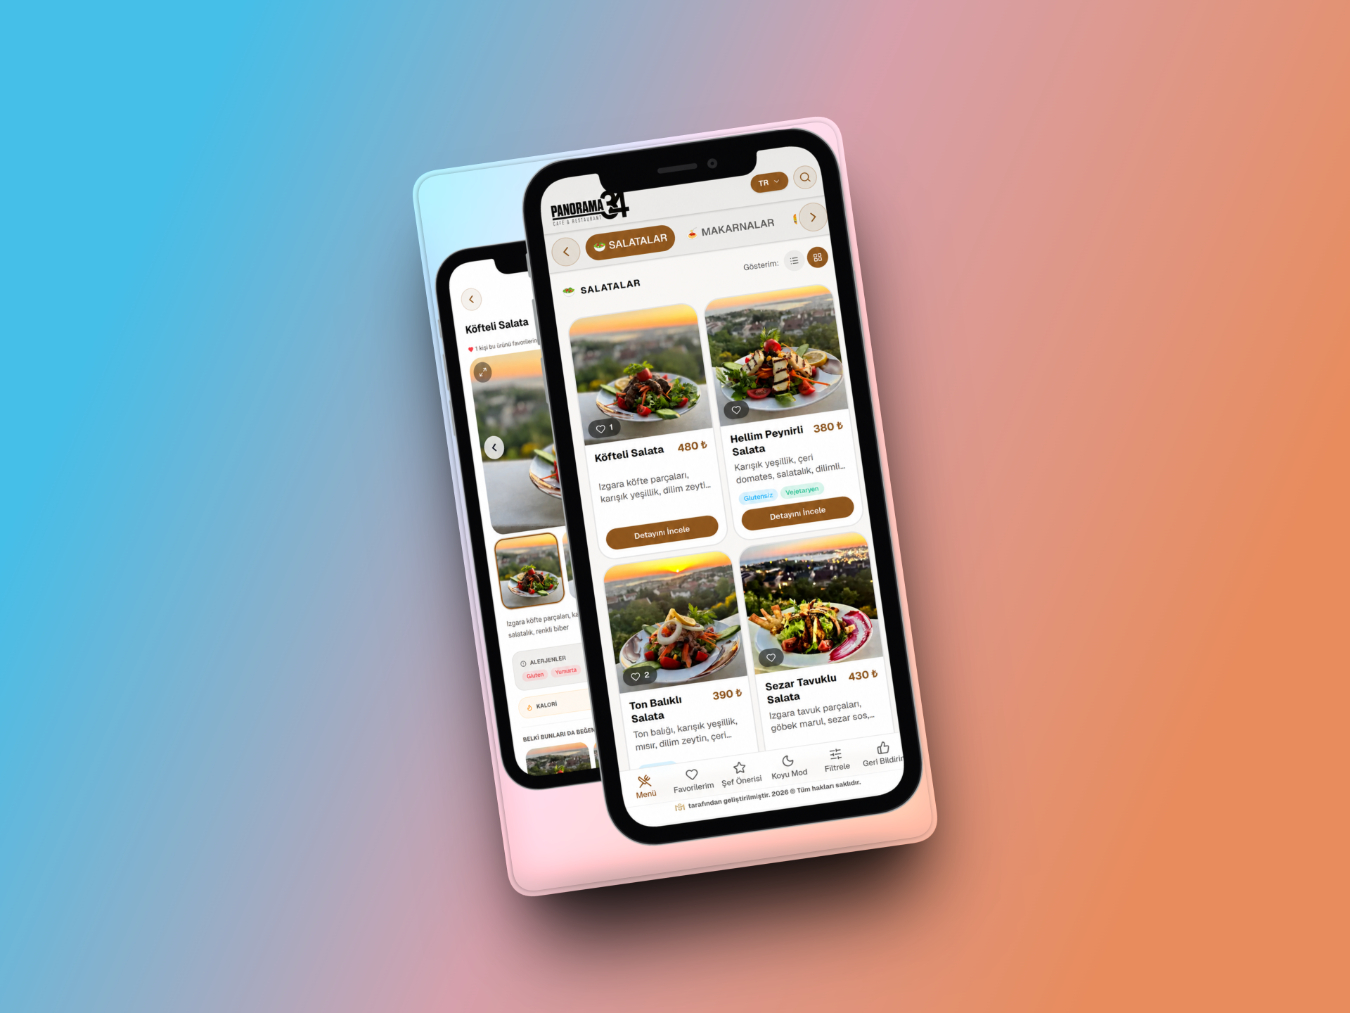
A category structure that works on a printed menu may not work equally well on a phone. Guests should reach the section they need with as little friction as possible.
A café, for example, might use:
- Breakfast
- Main dishes
- Snacks
- Desserts
- Hot drinks
- Cold drinks
A smaller number of meaningful categories is often easier to navigate than many narrowly defined sections.
3. Prepare Photos, Descriptions, and Allergen Information
A digital menu can display more product information than a printed menu, but that does not mean every product needs a long description. Use information that helps guests make a decision.
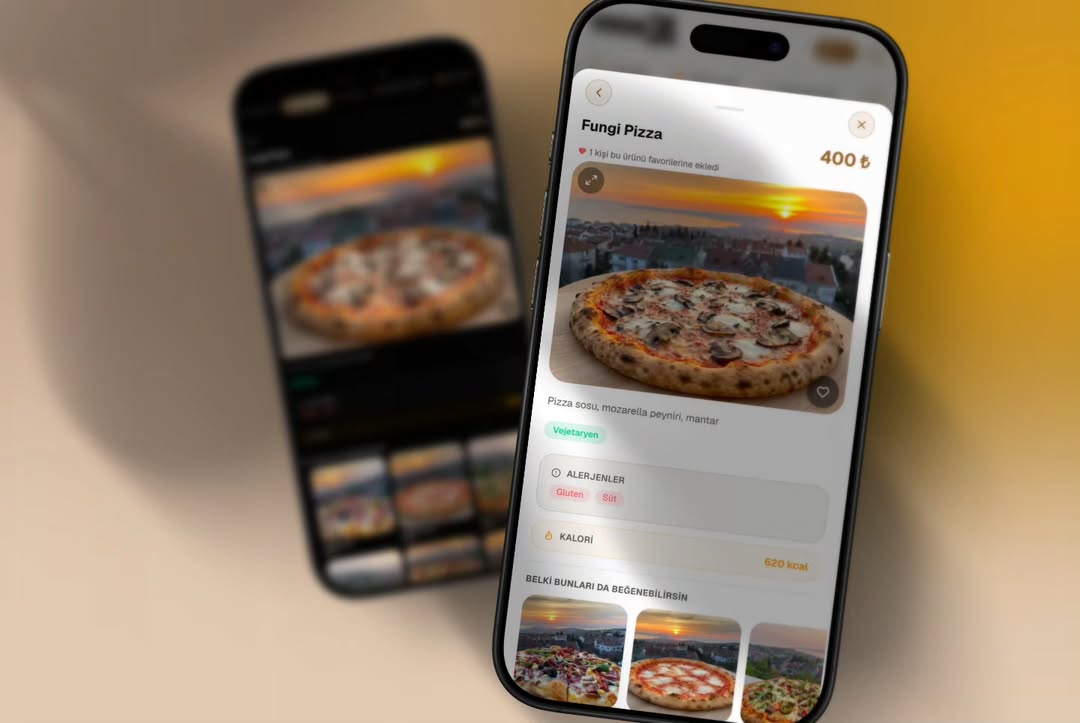
Photos should represent the real product, descriptions should be concise, and important allergen information should be easy to see. Our QR Menu UX Guide covers customer-experience improvements in more detail.
4. Check Languages and Pricing
If you serve international guests, select languages based on your real customer profile. Confirm that product names and descriptions are accurate in every published language.
If you display different currencies or price formats, make sure guests can clearly understand which price applies. Test several products in every language before launch.
5. Generate QR Codes and Place Them Correctly
A QR code may be technically valid but still difficult to scan if the physical placement is poor. Avoid printing it too small, placing it on highly reflective surfaces, or positioning it where guests cannot comfortably point a phone camera.
Possible locations include:
- Table cards
- Table numbers
- Stickers or stands
- Counters
- Takeaway materials
- Entrance or waiting areas
A short instruction such as “Scan to view the menu” can help first-time users.
6. Test the Menu on Real Devices Before Launch
Do not rely only on the administration panel. Scan the actual QR code with several real phones.
Check:
- Does the QR code scan quickly?
- Does the correct menu open?
- Does the first screen load quickly?
- Are categories easy to use?
- Are prices correct?
- Do product images display correctly?
- Does language switching work?
- Are allergen and product descriptions readable?
- Is the experience consistent on iPhone and Android?
7. Brief Your Staff and Observe the First Week
The transition affects the service team as well as guests. Staff should know where QR codes are located, how to explain the process, and what to do when a guest has difficulty.
A simple phrase can be enough: “You can open our menu by scanning the QR code on the table with your phone camera. I can help if you need it.”
During the first week, observe where guests struggle. Adjust QR placement, category order, or product descriptions based on real use.
Should You Remove Printed Menus Immediately?
Not necessarily. Keeping a few printed menus during the transition can be useful, especially for guests who prefer a physical menu. The number can be reduced later based on actual usage.
Read our QR Menu vs. Printed Menu analysis for a detailed comparison.
How Do You Improve the Menu After Launch?
Launching the menu is not the end of the process. Product order, descriptions, photography, and featured products can be reviewed continuously.
High sales volume and high profitability are not always the same. Our Menu Engineering Guide explains how to evaluate product visibility more strategically.
Quick QR Menu Setup Checklist
- Remove outdated products and prices
- Simplify the category structure
- Prepare product descriptions and photos
- Check allergens
- Add the required languages
- Prepare QR codes at a practical size
- Test on real phones
- Brief the staff
- Plan a backup menu option
- Monitor feedback during the first week
Conclusion
A successful QR menu rollout is not only about installing technology. It requires reorganizing the existing menu operation for mobile use. Clean product data, clear categories, and good QR placement make the transition easier for both the business and the guest.
For a complete overview of QR menu features, costs, and business use cases, continue with our complete QR Menu Guide for Cafés and Restaurants.
Frequently Asked Questions
What is the first step when switching to a QR menu?
How long does QR menu setup take?
Where should the QR code be placed on the table?
How should a QR menu be tested before launch?
Do printed menus need to be removed after switching to QR?
Does staff need training for a QR menu?
Related Posts